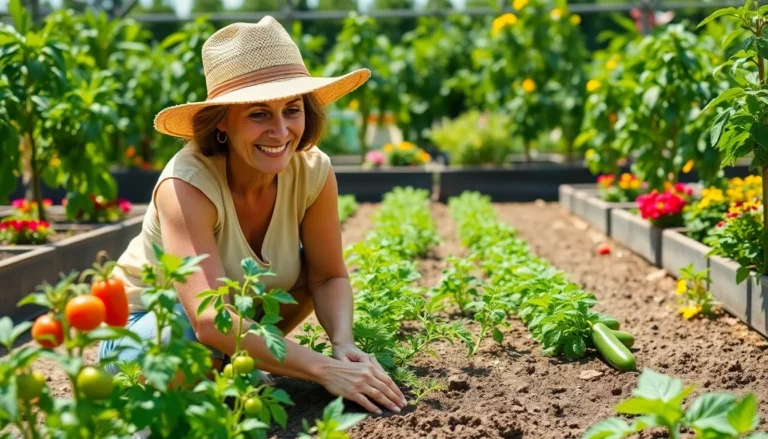
If you’ve ever fantasized about plucking fresh vegetables right from your backyard while dodging the grocery store crowds, you’re in for a treat. Raised bed vegetable gardening isn’t just a trending buzzword: it’s a highly effective method that’s easy on the back and knees, ideal for beginners like us. With a little bit of planning and a sprinkle of patience, we’re about to jump into the wonderful world of raised bed gardening. So grab your gardening gloves, and let’s dig in.
Benefits Of Raised Bed Gardening
Raised bed gardening comes with an array of advantages that make our gardening journey both enjoyable and productive. First off, let’s talk about soil quality. When we use raised beds, we have complete control over the soil mix. This means we can create the perfect blend of nutrients tailored specifically for the vegetables we want to grow.
Next, we can’t ignore the ease of access. Elevated beds spare us from the back-breaking labor of bending down to ground level, making the entire experience more comfortable, especially as time goes by. Plus, those pesky weeds? They’re less of a hassle in raised beds, allowing us to spend more time tending to our plants and less time battling unwanted greenery.
And here’s another perk: raised beds allow for better drainage. When it rains, our plants won’t be sitting in a puddle of water. This is particularly beneficial for veggies like carrots and potatoes that can rot if over-saturated. Let’s not forget the unique chance raised beds provide for pest control, some gardeners even find that they’ll attract beneficial insects while keeping destructive critters at bay.
All in all, raised beds not only make gardening easier but also allow us to cultivate an environment that’s healthier for our plants.
Choosing The Right Location
Now that we’re on the same page about the benefits, let’s tackle an important question: Where should we set up our vegetable paradise? The ideal spot for our raised bed should be somewhere that receives at least six to eight hours of sunlight each day. Think about those sunny afternoons: most vegetables thrive in full sun, and we want our crops soaking up those rays.
Next, consider accessibility. We want to locate our beds close enough to our kitchen so that harvesting fresh veggies doesn’t turn into a marathon trek. A little convenience goes a long way, especially when we’re consumed with dinner preparations.
Finally, let’s not overlook the concept of protection. Positioning our raised garden away from wind tunnels and areas prone to flooding can save us a headache down the line. The right location will provide a protective environment for our plants, maximizing their health and our enjoyment.
Building Your Raised Bed
Building our raised bed might sound a bit daunting, but fear not. This is where we get to unleash our inner carpenter. We’ll want to start with 2×6 or 2×8 lumber, as these dimensions create a sturdy frame. Typically, a 4×8 foot rectangle works well for beginners, but we can adjust based on our available space.
Begin by laying out the area where our bed will sit, clearing any grass or weeds. Then it’s as simple as cutting the wood to size and stacking it to form a sturdy rectangle. To prevent rotting, we might choose untreated cedar or redwood, which are more resistant to decay.
Once the frame is assembled, secure it with screws or brackets for stability. If we’re feeling a bit more adventurous, consider adding a bottom layer of hardware cloth to keep critters from burrowing in. There we have it, our very own raised bed, ready for action.
Soil Selection And Preparation
Soil is the heart of our garden. With raised beds, we can curate the absolute best mixture suited for hearty vegetables. Generally, a combination of one-third compost, one-third peat moss or coco coir, and one-third vermiculite or perlite provides the ideal blend.
Before hopping into planting, we should also check our soil’s pH level. Most vegetables prefer a pH between 6.0 and 7.0: there are simple test kits available that can provide us this information.
Once we’ve prepared our soil, it’s time for a little elbow grease. We should mix the ingredients thoroughly to ensure our plants get a well-balanced diet as they grow. With everything prepped, we’re one step closer to our bountiful harvest.
Planting Your Vegetables
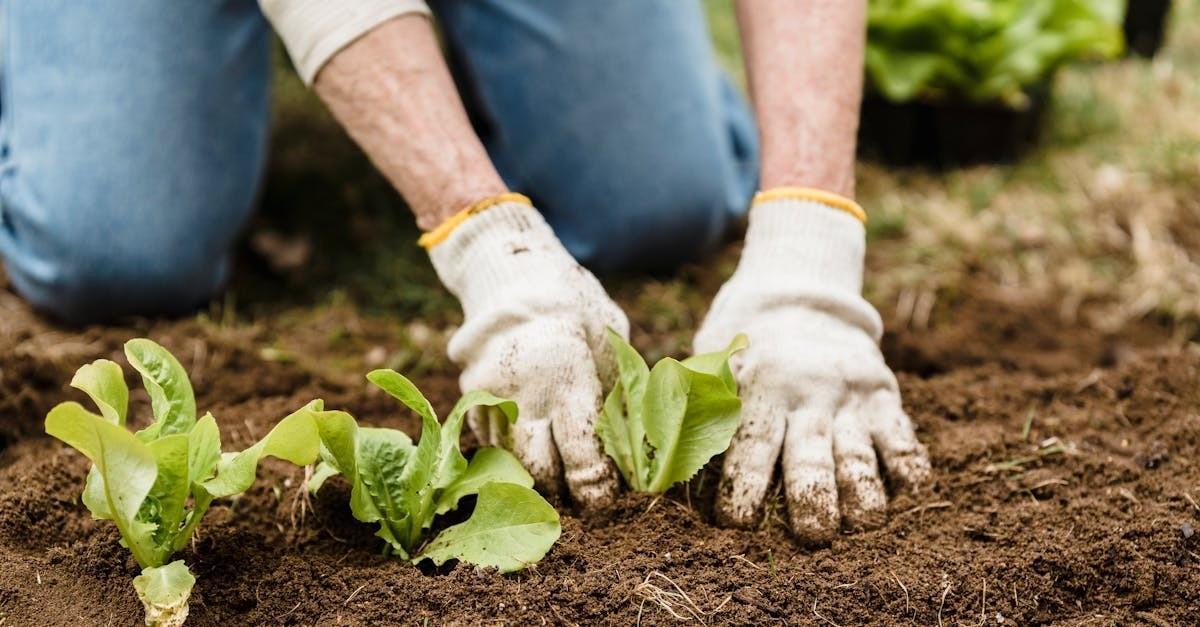
The moment we’ve all been waiting for: planting. This is where we bring our vision to life. Begin by spacing our seeds according to the instructions on the seed packets, some plants require more breathing room than others. To ensure efficiency, we can create a planting schedule based on their growing seasons.
After planting, we should water gently but thoroughly, ensuring the moisture reaches the roots. Depending on the time of year, a simple layer of mulch can help retain moisture and keep weeds at bay.
As our plants begin to sprout, this will be an exciting time for us. We should make sure to monitor the growth, keeping an eye out for signs of pests or diseases right from the start.
Maintenance Tips For Success
We all know that a garden isn’t just a one-and-done deal: it requires ongoing maintenance. To keep our plants happy, we need to check the soil regularly and water consistently, especially during dry spells. Establishing a routine helps keep our garden thriving.
Fertilizing our crops with organic options like compost tea or fish emulsion can go a long way in keeping nutrients replenished without harming our soil.
Finally, let’s not forget the importance of pruning. We should remove any new growth on understory plants, allowing us to redirect energy toward healthier plants and bigger yields. Regular maintenance will set us up for success and create unforgettable harvest seasons.